Laravel 12 Generate QR Code Example...
QR codes have become a widely used method for sharing information quickly and securely. From prod...

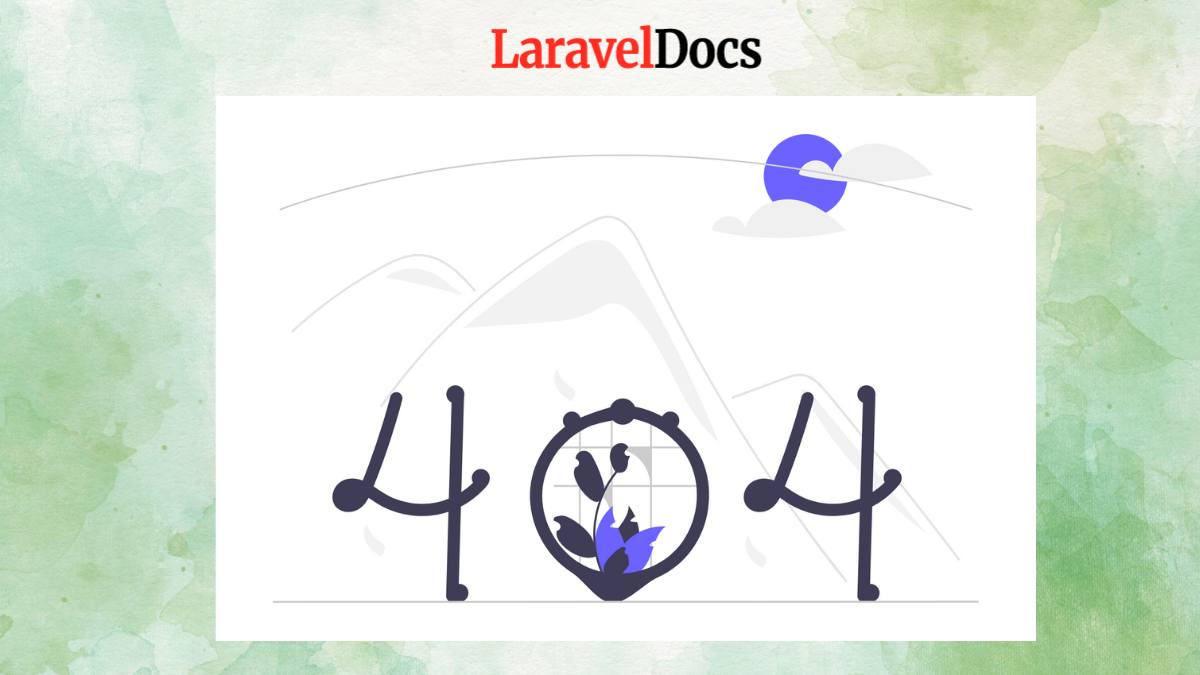
When something goes wrong in your Laravel application, you want users to see more than just a boring error message. A well-designed error page can turn frustration into a branded experience — even inject some humor or guidance. In this guide, we’ll show you how to build custom error pages in Laravel 12 to make your app more professional and user-friendly.
Error pages are an essential part of any web application. They help improve user experience by providing meaningful feedback when something goes wrong. In Laravel 12, customizing error pages is straightforward, but there are some best practices to follow.
In this guide, we’ll walk through how to create and customize error pages in Laravel 12 for common HTTP status codes like 404 (Not Found), 500 (Server Error), and 403 (Forbidden).
Before we dive into the how-to, let’s answer the “why.”
Improve UX: A custom 404 page can guide lost users back to safety.
Reinforce Branding: Error pages are part of the user journey too.
Deliver Clarity: Help users understand what went wrong and what to do next.
Inject Personality: Make errors less intimidating with a fun touch.
Laravel 12 makes it easy to customize error pages with Blade templates and a clean structure.
If you not created Laravel app yet, install it with some simple steps.
Yoy may check our blog How to Create Laravel Project in your local machine.
composer global require laravel/installer
laravel new custom-error
cd custom-error
npm install && npm run build
composer run dev
The default error page blade file will be created in this phase by executing the Laravel command. Laravel will create a "errors" directory containing all of the error pages in the views folder when you execute the command below. Let's execute the following command:
php artisan vendor:publish --tag=laravel-errors
Laravel stores default error views in:
resources/views/errors/
By default, you’ll see files like:
401.blade.php (HTTP status code 401)
403.blade.php (Forbidden error)
404.blade.php (Not Found)
419.blade.php (Page Expired error)
429.blade.php (Too Many Request Error)
500.blade.php (Server Error)
403.blade.php (Forbidden)
If this directory doesn’t exist, you can create it.
Let’s customize the 404 page as an example.
Create or modify resources/views/errors/404.blade.php:
@extends('layouts.app') <!-- Assuming you have a master layout -->

@section('content')
    <div class="container text-center py-5">
        <h1 class="display-1 text-danger">404</h1>
        <p class="lead">Oops! The page you're looking for doesn't exist.</p>
        <a href="{{ url('/') }}" class="btn btn-primary">Return Home</a>
    </div>
@endsection
Similarly, modify resources/views/errors/500.blade.php:
@extends('layouts.app')

@section('content')
    <div class="container text-center py-5">
        <h1 class="display-1 text-danger">500</h1>
        <p class="lead">Something went wrong on our end. We're working on it!</p>
        <a href="{{ url('/') }}" class="btn btn-primary">Go Back Home</a>
        <p class="mt-3 text-muted">
            <small>If the problem persists, contact support.</small>
        </p>
    </div>
@endsection
To ensure your pages work, you can manually trigger errors:
Add a test route in routes/web.php:
Route::get('/test-404', function () {
    abort(404);
});
Visit /test-404 to see your custom 404 page.
Simulate a server error:
Route::get('/test-500', function () {
    abort(500);
});
Visit /test-500 to check your 500 error page.
Similarly, you may create another error pages in same way.
For a polished look, consider:
Using Bootstrap/Tailwind CSS for responsive design.
Adding animations with Alpine.js or jQuery.
Including a search bar or navigation links to help users recover.
Example with Tailwind CSS:
<div class="min-h-screen flex items-center justify-center bg-gray-100">
    <div class="text-center p-8 bg-white rounded-lg shadow-lg">
        <h1 class="text-6xl font-bold text-red-500 mb-4">404</h1>
        <p class="text-xl mb-6">Page Not Found</p>
        <a href="/" class="px-4 py-2 bg-blue-500 text-white rounded hover:bg-blue-600">
            Return Home
        </a>
    </div>
</div>
Custom error pages in Laravel 12 are easy to implement and greatly improve user experience. By following this guide, you can:
Replace default error pages with branded designs.
Handle 404, 500, and other HTTP errors gracefully.
Test and debug error pages effectively.
Now go ahead and make your Laravel app’s error pages as polished as the rest of your site!

With over a decade of experience in web development, I have always been a huge lover of PHP, Laravel, Wordpress Development, other CMS, Javascript, Bootstrap, Tailwind CSS and Alpine JS. I am passionate about sharing my knowledge and experience with others, and I believe that learning is a lifelong journey.

QR codes have become a widely used method for sharing information quickly and securely. From prod...

Introduction
Laravel 12 continues to be a robust, elegant PHP framewor...

If you're aiming to become a Laravel developer or improve your Laravel skills, you're in...


Subscribe to my newsletter to get updated posts