Laravel 12 Generate QR Code Example...
QR codes have become a widely used method for sharing information quickly and securely. From prod...

Laravel 12 is the latest version of the popular PHP framework, offering improved performance, new features, and enhanced developer experience. Follow this comprehensive guide to set up a new Laravel 12 project from scratch.
Before you begin, ensure you have:
PHP 8.2 or higher
Composer installed
A database server (MySQL, PostgreSQL, SQLite, or SQL Server)
Node.js (for frontend assets)
Open your terminal or command prompt and run:
If you have not installed PHP and Composer already, do it with following command
composer global require laravel/installer
Then run this command-
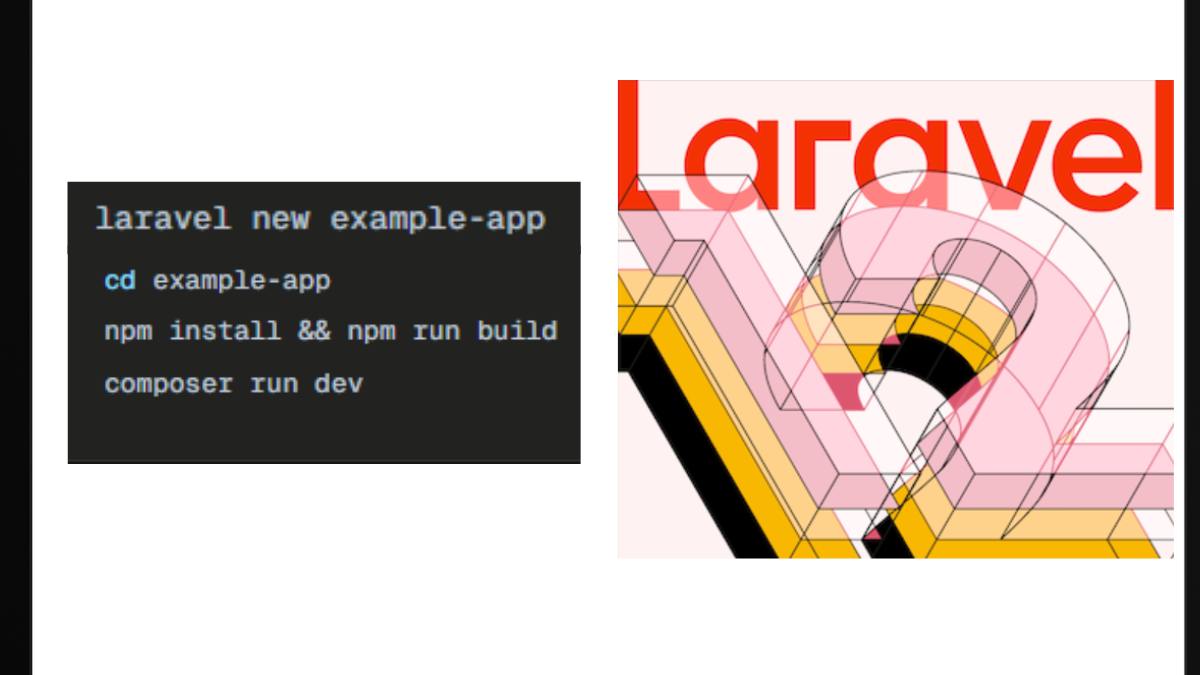
laravel new example-app
When application created, run the following command-
cd example-app
npm install && npm run build
composer run dev
This will:
Download the latest Laravel version (currently Laravel 12)
Install all required dependencies
Set up the basic project structure
Copy the .env.example file to .env:
cp .env.example .env
Generate an application key:
php artisan key:generate
Open the .env file and configure your database connection:
DB_CONNECTION=mysql
DB_HOST=127.0.0.1
DB_PORT=3306
DB_DATABASE=laravel12
DB_USERNAME=root
DB_PASSWORD=
Execute the default migrations to set up your database:
php artisan migrate
Laravel uses Vite for frontend asset compilation. Install the required Node.js packages:
npm install
You have two options to run your Laravel application:
php artisan serve
This will start a development server at http://localhost:8000
If you prefer Docker, install Laravel Sail:
composer require laravel/sail --dev
php artisan sail:install
./vendor/bin/sail up
Open your browser and visit http://localhost:8000. You should see the Laravel welcome page.
Here are the key directories in your new Laravel 12 project:
app/ - Contains your application logic
bootstrap/ - Framework bootstrapping files
config/ - Configuration files
database/ - Migrations, factories, and seeders
public/ - Web-accessible directory
resources/ - Views, JS, CSS, and language files
routes/ - All application routes
storage/ - Logs, compiled views, and file storage
tests/ - PHPUnit tests
vendor/ - Composer dependencies
Clear application cache:
php artisan optimize:clear
Install authentication scaffolding:
composer require laravel/ui
php artisan ui bootstrap --auth
npm install && npm run dev
Create a controller:
php artisan make:controller ExampleController
Now that your Laravel 12 project is set up, consider:
Setting up version control with Git
Configuring your IDE for Laravel development
Exploring Laravel's documentation for new features in version 12
Planning your application architecture
Congratulations! You've successfully created a Laravel 12 project.
With over a decade of experience in web development, I have always been a huge lover of PHP, Laravel, Wordpress Development, other CMS, Javascript, Bootstrap, Tailwind CSS and Alpine JS. I am passionate about sharing my knowledge and experience with others, and I believe that learning is a lifelong journey.
QR codes have become a widely used method for sharing information quickly and securely. From prod...
Introduction
Laravel 12 continues to be a robust, elegant PHP framewor...

If you're aiming to become a Laravel developer or improve your Laravel skills, you're in...
Subscribe to my newsletter to get updated posts