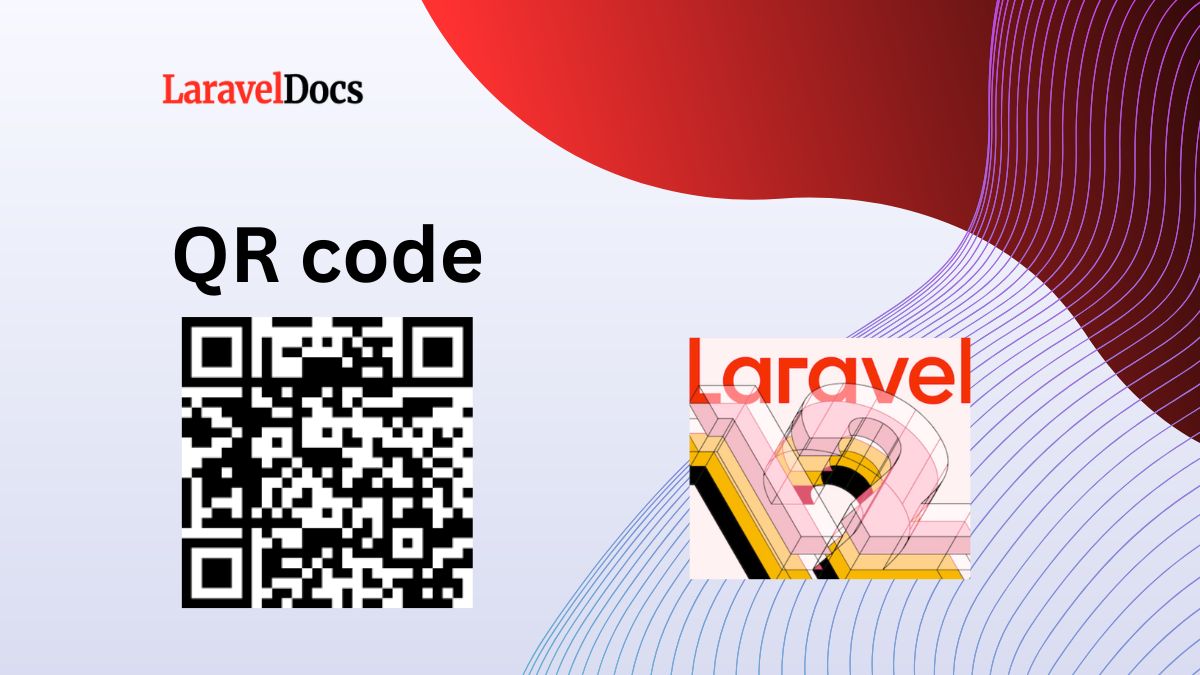
Laravel 12 Generate QR Code Example...
QR codes have become a widely used method for sharing information quickly and securely. From prod...

Laravel Cloud is a powerful platform for deploying and managing Laravel applications. It simplifies the deployment process, allowing you to focus on building your application rather than managing infrastructure. In this guide, we'll walk you through the steps to deploy a new Laravel 12 Starter Kit to Laravel Cloud.
Before you begin, ensure you have the following:
If you haven’t already created a Laravel 12 project, follow these steps:
Install Laravel 12:
composer global require laravel/installer
You are now prepared to construct a new Laravel application after installing PHP, Composer, and the Laravel installer.
laravel new laravel-12-starter
cd laravel-12-starter
Laravel provides several starter kits, such as Breeze and Jetstream. For this example, we'll use Breeze (a lightweight authentication scaffolding).
Install Breeze:
composer require laravel/breeze --dev
php artisan breeze:install
npm install && npm run dev
php artisan migrate
This will set up authentication views, routes, and controllers.
If you want to install Laravel 12 with Bootstrap 5 Authentication, watch this video.
Run the development server to ensure everything works:
php artisan serve
Visit http://localhost:8000 in your browser to confirm the application is running.
Laravel Cloud uses Git for deployment. Initialize a Git repository in your project:
git init
git add .
git commit -m "Initial commit"
git branch -M main
git remote add origin https://github.com/Laravel-Docs/laravel-12-starter.git
git push -u origin main
You may watch Youtube video How to create Github New Repository
Log in to Laravel Cloud:
Laravel Cloud is a powerful hosting solution designed specifically for Laravel applications. To connect your Laravel project to Laravel Cloud, follow these simple steps. If you haven’t already, log in to your Laravel Cloud account:
You may watch Youtube video How to create account and login to Laravel Cloud
Then create a new project in Laravel Cloud as like the following photo.
Follow the prompts to name your project and select a region.

Photo Credit: Laravel Cloud
Link Your Local Project to Laravel Cloud:
Link your local project to the newly created Laravel Cloud project i.e.
1. Select Control Provider,
2. Select repository.
3. Name you Application and
4. Select Region
Then Click “Create Application” button.
Create a Database:
Using the Laravel Cloud dashboard, you can create MySQL and Serverless Postgres databases and connect them to the environments of your applications.

Photo Credit: Laravel Cloud
To integrate a Serverless Postgres database into an environment, navigate to the infrastructure canvas dashboard and click on "Add database." Laravel Cloud will then prompt you to either link an existing database or create a new database cluster. When configuring a new cluster, choose "Laravel Serverless Postgres 17" as the database cluster type. Then save and wit for provisioning.
Laravel Cloud also supports advanced features like horizontal scaling, Redis, and database management. Explore the dashboard to unlock the full potential of your Laravel applications!
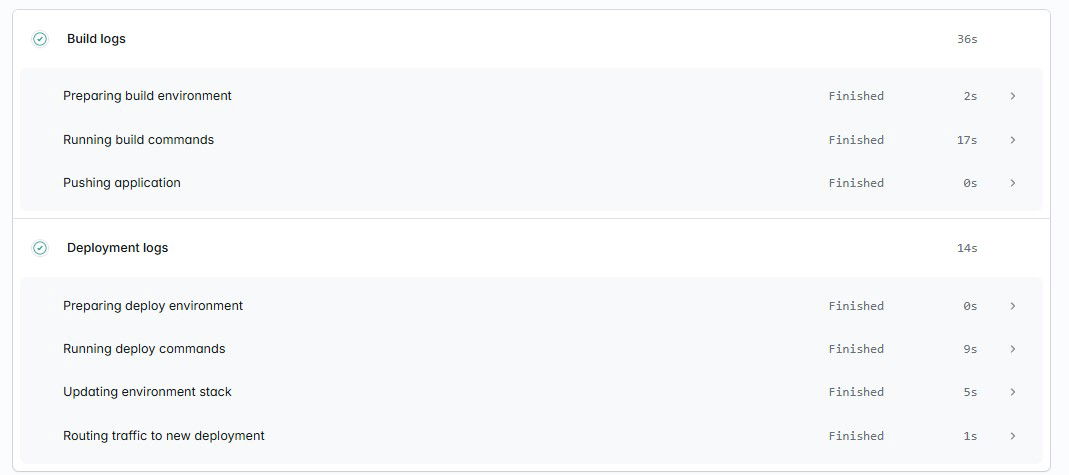
After that click “Deploy” Button. And with for deployment:

After a while it has been finished as follows-
To make future deployments even faster, you can set up automatic deployments whenever you push to a specific branch (e.g., main). Laravel Cloud integrates seamlessly with GitHub, GitLab, and Bitbucket for this purpose.
Connect Your Git Repository:
Link your Git repository to Laravel Cloud in the dashboard.
Enable Automatic Deployments:
Configure automatic deployments for your desired branch.
Deploying a Laravel 12 Starter Kit to Laravel Cloud is quick and easy. In just 5 minutes, you can have your application up and running on a production-ready platform. Laravel Cloud handles the heavy lifting, so you can focus on building amazing applications.
If you encounter any issues or have questions, feel free to reach out in the comments below.
Nice deploying!
James Taylor is a full-stack developer with a passion for building scalable web applications. He specializes in Laravel, Vue.js, and Tailwind CSS, and enjoys sharing his knowledge through tutorials, articles, and courses.
QR codes have become a widely used method for sharing information quickly and securely. From prod...
Introduction
Laravel 12 continues to be a robust, elegant PHP framewor...
If you're aiming to become a Laravel developer or improve your Laravel skills, you're in...
Subscribe to my newsletter to get updated posts